Drone Pesticide Spraying: 7 Checks Before Your First Flight


The drone is charged. The field is waiting. It is tempting to fill the tank and get moving. But for a first pesticide flight, I would pause and check the plan first. One missed label restriction or a wrong field boundary can undo a whole day of careful flying.
That is where these seven checks come in. If any check fails, keep the drone on the ground until you fix it.
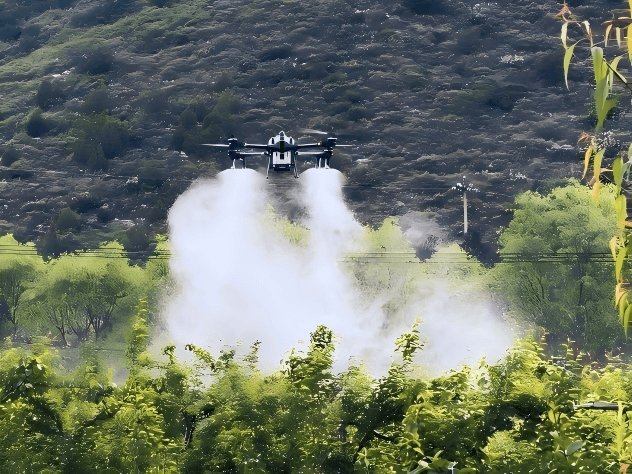
1. Check the Pesticide Label and Flight Permissions
Start with the product, crop, target pest, and application method. Read the full current label. Check whether aerial application is allowed, then confirm the rate, minimum carrier volume, droplet or equipment directions, spray height, buffers, timing, preharvest interval, and restricted entry interval. A ground application instruction does not automatically cover a drone. Penn State Extension's drone herbicide guidance points out that some aerial labels do not permit the very low volumes often used by drones.
Next, confirm the operator and aircraft approvals for your location. In the United States, the FAA guidance for agricultural drone dispensing explains Part 137 certification and the different paths for drones below and above 55 pounds at takeoff, including payload. Pesticide applicator credentials and state rules are separate checks. Elsewhere, use your local aviation and pesticide authorities. No approval means no application.
Keep a copy of the label, any supplemental directions, and the required authorization with the job record. The product name on the work order should match the container in the field. If a substitute arrives, start this check again. Similar-sounding products can carry very different directions.
Related article: FAA Regulations for Agricultural Drone Spraying: Part 137 Explained
2. Plan the Field and Mark Every No Spray Area
Walk the boundary before you trust the screen. Mark power lines, poles, trees, irrigation gear, roads, homes, water, nearby crops, and people who may enter the area. Add the required label buffers and any other local restrictions. Choose a level launch and landing spot away from the mixing station and the spray path.
Then inspect the route on the controller. Does it enter the right field? Are turns and spray on or off points correct? Where will the drone go if the battery drops or the link fails? A route preview takes minutes. An accidental pass over a sensitive edge takes much longer to explain.
Talk to the grower about access and nearby activity. A crew may be harvesting the next block, or a gate may open onto the launch area. Put those details in the field record, not only in someone's memory. Confirm the actual treated acres before calculating the mix.
3. Check Weather and Pesticide Drift Risk at the Field
Read the label's weather limits, then measure conditions where you will actually spray. Check wind speed and direction, gusts, temperature, humidity, rain risk, and signs of an inversion. Look downwind. Is there a house, worker, road, waterway, or sensitive crop? The EPA's pesticide drift guidance explains why off-target movement matters.
Do not use a generic wind number in place of the label. Conditions can change between the first and last tank. Keep a meter handy and recheck during the job. If wind shifts toward a sensitive area, pause.
4. Prepare the Mix Water and Protective Equipment
Before opening a container, calculate the treated area and batch size. Confirm the product, formulation, mixing order, adjuvant, water source, and tank compatibility from the label and manufacturer guidance. Measure carefully. A smaller drone tank makes a small measuring error matter more.
Set up a clean fill point with spill supplies, fresh water, and the personal protective equipment the label requires. Assign one person to control measuring and loading. Keep bystanders out of the area. Know where leftover mix and rinse water will go under the label and local rules. If the plan is fuzzy, sort it out before adding pesticide.
Check whether the formulation needs agitation and whether the drone's pump, filter, seals, and tank materials are compatible. If you plan a tank mix, verify that every product's label allows the combination and application method. Do not assume a mix that worked in a ground rig will behave the same way here.
5. Inspect the Drone Batteries and Spray System
Now check the aircraft with the tank empty. Look at propellers, arms, motors, landing gear, tank mount, hoses, filters, nozzles, pumps, flow meter, seals, and sensors. Search for cracks, loose fittings, blocked outlets, and leaks. Confirm the controller, positioning system, maps, and software are ready for the planned route.
Check every battery for condition, charge, secure fit, and the reserve required by the flight plan. Know the return point and the next battery's status. The EAVISION J150 and EAVISION J70 offer different tank and field workflows; use the exact manual for your aircraft and installed spray module. A specification sheet is no substitute for the preflight inspection.
6. Calibrate With Water Before Adding Pesticide
On a first job, a water-only test is a useful reality check. Confirm the pump starts and stops where planned. Check for leaks and even output. Compare actual flow with the target application volume, speed, height, and effective swath. Use water-sensitive cards or another appropriate method to look for gaps and heavy overlaps, especially near field edges.
Do not choose the finest droplets just because they look thorough. Smaller droplets can raise drift risk, while the wrong coarse setting may miss a hard-to-reach target. The label and crop target lead the choice. Save the tested settings so the first chemical tank starts from a measured setup.
Here is an easy cross-check: if the controller predicts ten acres from a tank, ask whether the planned water volume and tank size support ten acres. If the numbers do not agree, stop and recalculate. It is easier to catch a unit error on the ground than after a field has been sprayed.
7. Brief the Crew and Make a Final Go or No Go Call
Give everyone one job. Who pilots? Who watches the aircraft and field edge? Who mixes and refills? Who can call stop? Confirm the hand signals or radio channel, emergency landing area, spill response, and procedure for a lost link or unexpected person in the field.
Before takeoff, say the key facts out loud: product, field, crop, rate, target volume, weather, route, buffers, battery, and first landing point. Then do one last scan for people, animals, vehicles, and new obstacles. If anything has changed since the plan was saved, revise the plan. That final pause is often the most valuable minute of the day.
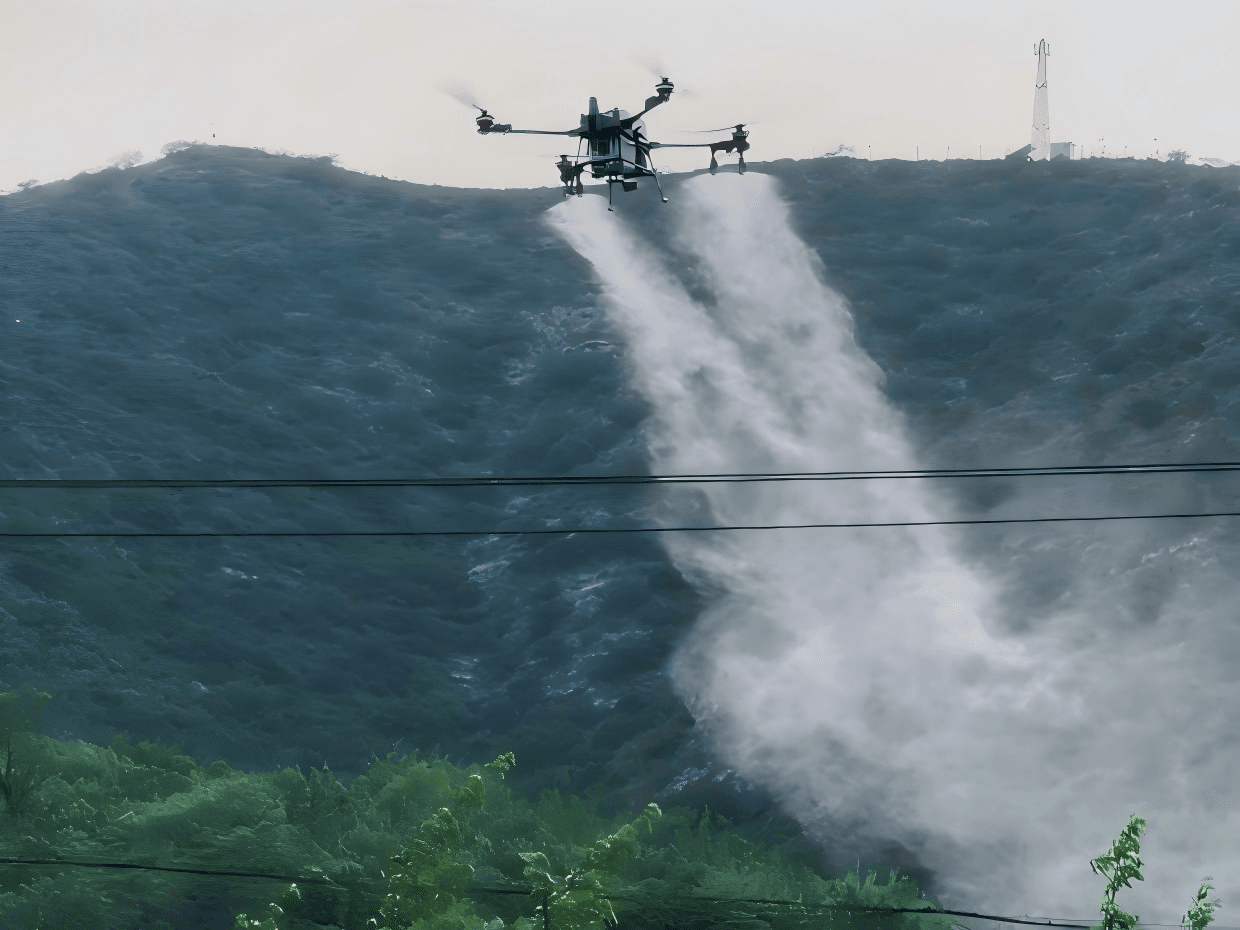
What to Do After the First Drone Pesticide Spraying
Watch the first pass closely. Check spray on and off timing, coverage, drift, and battery use before committing to the whole field. After landing, compare the flown map with the intended area. Record product and rate, treated acres, weather, time, operator, equipment settings, pauses, and any unusual event. Clean and store the system as the label and manual require.
Tell the grower when the application ended and when people may reenter under the label's restricted entry interval. Save the field map and the batch details together. Those records make the next job easier to plan and give everyone a clear account of what happened.
You do not need to memorize every setting on day one. You do need a repeatable way to notice when something is wrong. For a broader service operation, the EAVISION business setup guide covers training, support, and standard procedures beyond this single flight.
Make the First Flight a Repeatable Routine
The best first flight is calm because the decisions were made on the ground. Put these seven checks on a field card, keep the label and manual close, and update the card after each job. If you are building a local support business, explore the EAVISION agricultural drone spraying solution or EAVISION dealer application for product and partnership information.
FAQ
Can any pesticide be applied by drone?
No. Check the current product label for the crop, pest, application method, rate, carrier volume, and restrictions. Confirm local pesticide rules and aviation approvals before flying.
Should I test a spray drone with water first?
Yes, a water-only check can reveal leaks, incorrect flow, route timing, and coverage gaps before pesticide enters the tank. Follow the aircraft manual and the label when setting the final application.
What stops a drone pesticide spraying flight?
Stop or postpone when permissions, label conditions, weather, buffers, equipment, calibration, or crew safety cannot be confirmed. Recheck conditions during the job, not only at takeoff.